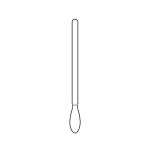
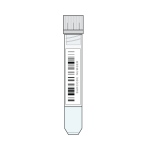
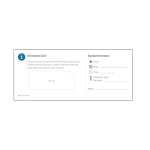
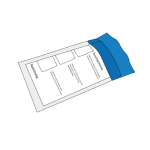
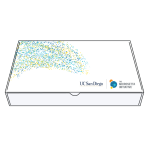
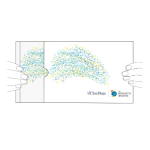
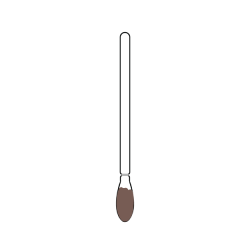
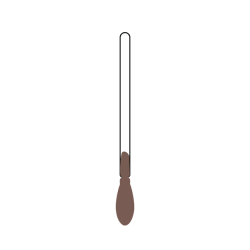
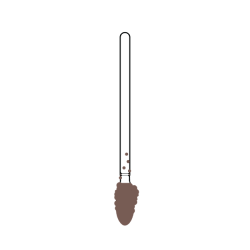
Each collection kit contains the following:
Step 1 | Read Instructions
Please read all of the instructions before collecting a sample. Click on any image to see a larger version. If you have any questions, please email: microsetta@ucsd.edu
NEXT STEP: Create account
Step 2 | Create account
Visit microsetta-rest.ucsd.edu to create your account and fill in your profile information. If you already have an account and profile, please update your information as needed.
NEXT STEP: Take food frequency questionnaire (FFQ)
Step 3 | Take food frequency questionnaire (FFQ) ~ 30 min
- In your account, select the ‘My Nutrition’ tab.
- Enter the registration code you received via email.
Once you have taken the FFQ, you can view your ‘Top Food Report’.
Please proceed to the next step if you have received your kit.
NEXT STEP: Register kit
Step 4 | Register kit
- Find your information card in your kit’s ‘Step 2’ pocket.
- Register the Kit ID on your information card on the ‘My Kits’ page.
- Select the barcode ID on the collection tube you are using and click ‘Confirm’.
The ID should match what is printed on the collection tube.
NEXT STEP: Prepare to take sample
Step 5 | Prepare to take sample
Collection kits are for taking a fecal sample using a toilet-paper collection method. The sample should be shipped back to the lab as quickly as possible, ideally within 48 hours of collection.
Samples can be stored at room temperature and do not need refrigeration.
To prepare:
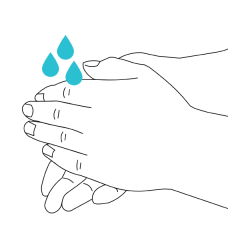
- Wash hands with soap and water before collection.
- Have the information card on hand to record the sample collection date, time & barcode ID.
-
- Set up the collection kit shipping box on a convenient flat surface.
- Open collection tube cap being careful not to spill the liquid inside.
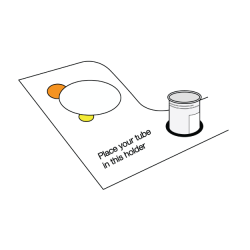
- Place the collection tube in the smallest built-in tube holder, to the right of ‘Place your tube in this holder’.
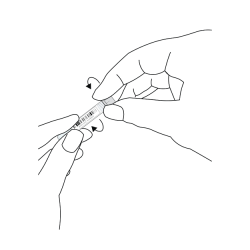
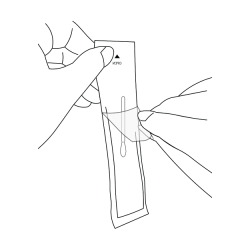
- Have sampling swab prepared: DO NOT take out the sampling swab until ready to use. Find the end marked ‘OPEN’. Partially peel back the outer cover only halfway.
NEXT STEP: Collect fecal sample
Step 6 | Collect fecal Sample
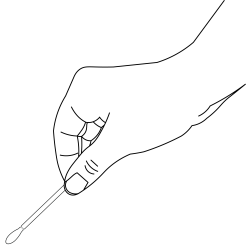
Once you are ready to swab the fecal sample, take out the sampling swab. Make sure to handle it at the ends of the shaft only. Avoid touching the cotton tip.
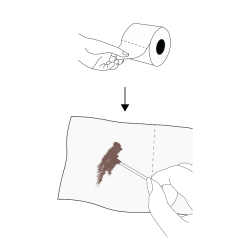
- Rub the cotton tip over the fecal specimen that is on the used piece of toilet paper.
- The toilet paper may be disposed of after this step.
![]() DO
DO
- Saturate at least half of the cotton tips. Do not oversaturate the sample.
- If you have a hard specimen, rub enough on both sides of the cotton tips to get a light smear.
![]() DO NOT
DO NOT
- Do not provide insufficient material; the swab must show a visible smear.
- Do not provide excess material.
- Do not collect any urine in your sample.
- Do not fish out fecal specimens from the toilet bowl.
- Place sampling swab, cotton tip pointing down, into the collection tube with the preservation solution.
- Carefully take the collection tube out of the holder.
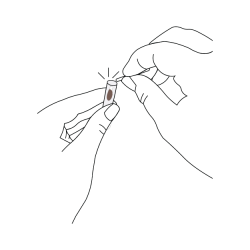
- At the notched break off point (just above the swab tip), snap the plastic shaft against the inside of the collection tube, leaving only the cotton tip inside.
- Tighten the cap onto the collection tube, making sure no contents can leak out. Ensure that the cotton tip is fully submerged in the preservation liquid by gently tapping the collection tube.
If the cotton tip is not submerged because spillage of the preservation liquid has occurred, please email us at microsetta@ucsd.edu so we can assist you.
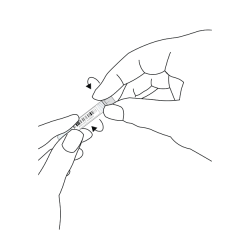
- Wash hands.
Step 7 | Record Sample Information
On the information card, verify the sample type taken. Record the following:
- Barcode ID (found on the collection tube)
- Collection date
- Collection time.
Then, log in to your account at microsetta-rest.ucsd.edu
On the ‘My Kits’ page, select the matching barcode ID to add the sample information. Keep the information card for your records.
Please note: We can only process samples if you have completed the consent forms and provided the sample information online. Samples should only be returned after completing these steps in your online account.
Step 8 | Return Sample
- Check that the collection tube is tightly closed and does not leak.
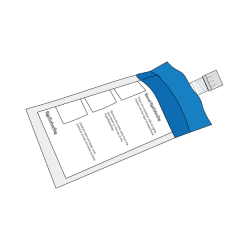
- Place the collection tube into the safety bag provided and seal it.
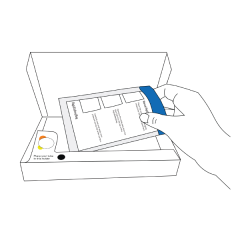
- Place the safety bag into the cardboard shipping box you received (do not use the outer sleeve), and close it.
We recommend sealing the box tightly with tape before shipping. The sample should be shipped back to the lab as quickly as possible, ideally within 48 hours of collection.
![]() WARNING:
WARNING:
CONTAINS ETHANOL
Highly flammable liquid; keep away from sparks and open flame. Contact can cause skin irritation and serious eye irritation. If in eyes, rinse for several minutes with water. If on skin, rinse with water. In case of accidental spillage, wipe up with absorbent material. Use in a well-ventilated area. Keep the container tightly closed when not in use.
CHOKING HAZARD
Kit contains small parts; adult supervision is required.
The Microsetta Initiative is a research effort that produces open-access data to share with the research community and the public after removing any directly identifying information. The results you receive in exchange for participation are not for medical diagnosis or advice. We do not offer medical recommendations or clinical services.
The Microsetta Initiative complies with UC San Diego’s privacy policy and ethical regulations to ensure that your data are protected.
FOR RESEARCH USE ONLY. NOT FOR USE IN DIAGNOSTIC PROCEDURES.
Analyze Your Nutrition
Step 1 | Create account
Visit microsetta-rest.ucsd.edu to create your account and fill in your profile information. If you already have an account and profile, please update your information as needed.
Step 2 | Take food frequency questionnaire (FFQ) ~ 30 min
- In your account, select the ‘My Nutrition’ tab.
- Enter the registration code you received via email.
Once you have taken the FFQ, you can view your ‘Top Food Report’.

